Discover the ultimate Park Model Tiny House buying process, from placement to utility hookups, with expert tips for a smooth and stress-free setup.
Introduction: Making Your Park Model Tiny House a Reality
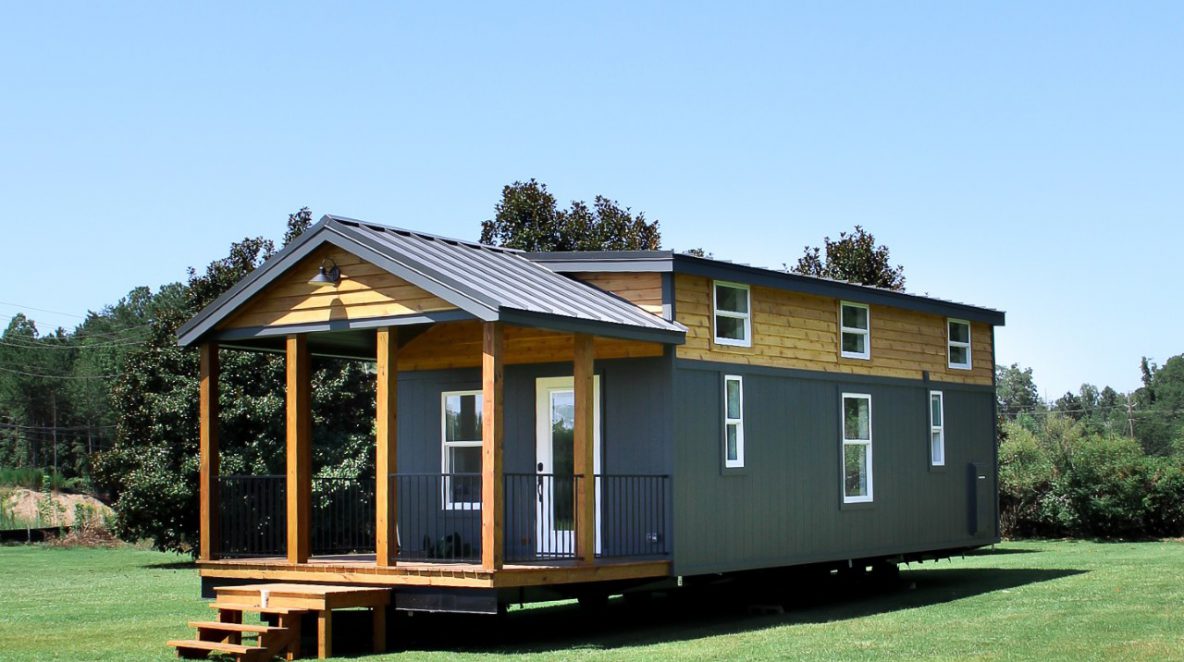
Building your dream Park Model Tiny House starts with understanding the complete buying process. From verifying placement on private property or RV communities to receiving a detailed general quote, each step ensures your tiny home fits your lifestyle. The planning and design phase lets you customize every inch with CAD floor plans, 3D views, and material lists. Whether paying cash with a 40/40/20 schedule or arranging financing with low APR loans, the process is transparent and stress-free. Using Buildertrend software, you can track progress, view photos, and ensure quality through third-party inspections. Proper transport, setup, and utility hookups complete your journey, so your tiny home is safe, functional, and ready to live in.
Step 1: Placement, Planning & Design
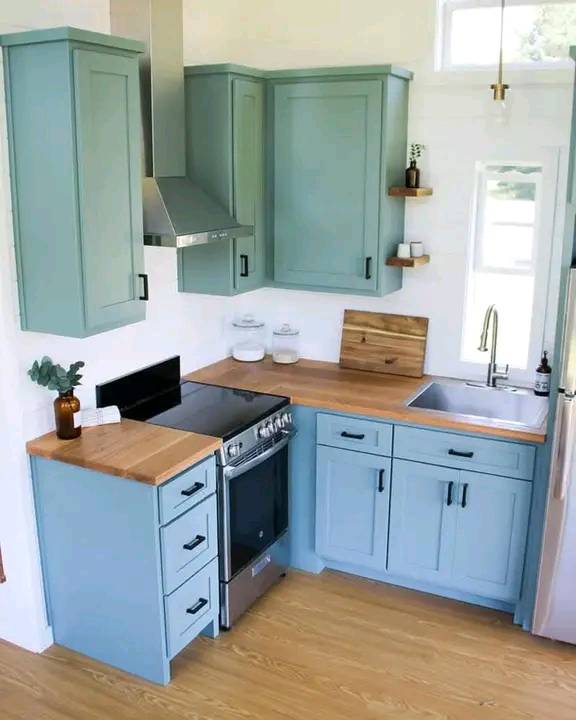
The first critical step is placement verification. Check zoning laws for private property or tiny home communities to ensure legal setup. Choosing the right model and getting a general quote helps plan your budget. During planning and design, you’ll finalize layouts, select materials, and view 3D renderings. A detailed parts list and cost estimate ensures clarity on where your money goes. This step also allows planning for utilities like electricity, water, and sewer connections. Engaging in proper planning ensures a smooth build, prevents delays, and guarantees that your Park Model Tiny House is customized to your needs and style.
Step 2: Build, Transport & Setup
Once the build order contract is signed, construction begins, typically taking 8-10 weeks. With Buildertrend tracking, you can monitor each stage and verify quality through inspections. Transport requires professional haulers with permits due to over-dimensioned sizes, averaging $8–$10 per mile. On-site setup involves leveling, installing piers, and anchoring for wind protection. Utility hookups, including electricity, plumbing, and propane, are connected either before arrival (private property) or via community hookups. Following these steps ensures your tiny home is safe, structurally sound, and fully functional when it arrives.
Step 3: Final Touches & Home Site Considerations
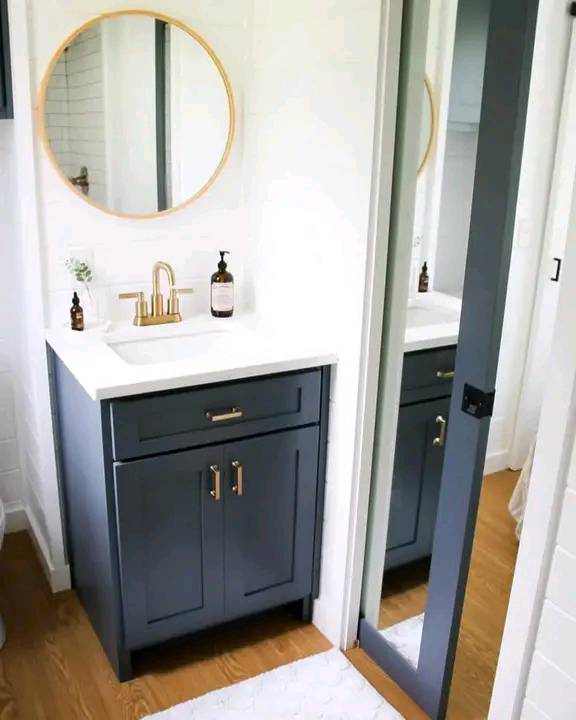
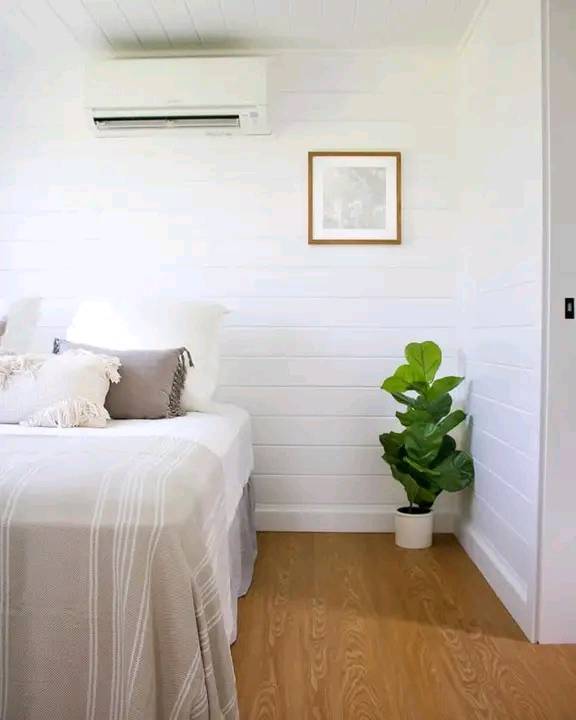
After setup, your Park Model Tiny House is ready to live in. You can enhance its look with skirting options like stack stone, brick, or river rock, which make the home appear permanent. Adding stairs, lighting, and landscaping completes your home site. Ensuring all utilities are connected, including water, sewer, and electricity, allows comfortable living from day one. These finishing touches not only improve aesthetics but also increase durability and functionality, making your tiny home a fully livable, charming space for years to come.
Request winner’s list and dates
Zreid992@gmail.com
This house would be a heaven sent home